3. Samples
3.1. Samples Homepage
The second tab in the top menu bar is the Samples tab. The layout and functionalities are extremely similar to the machine ones. Clicking on it brings you to the Sample Manager page.
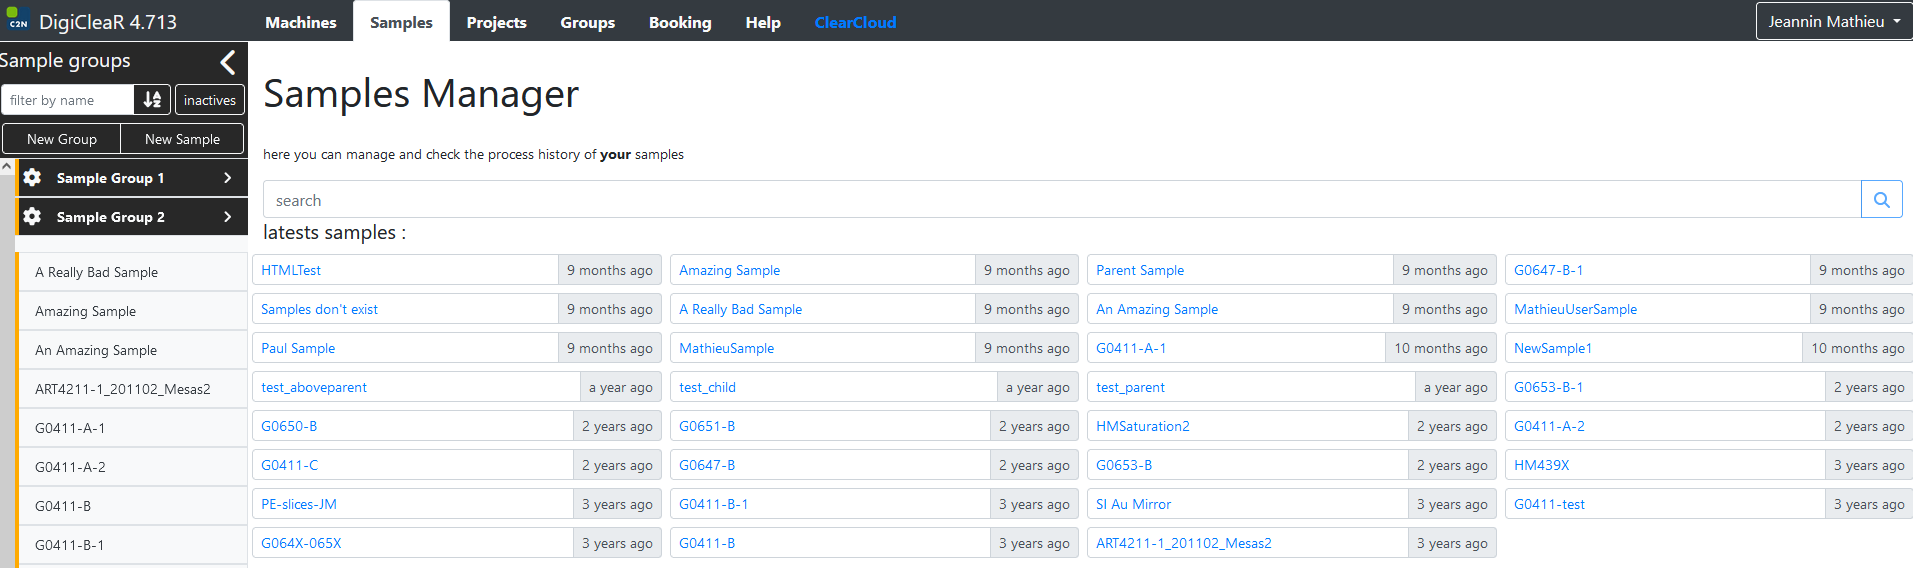
This page has the same organization as the Machines page. The central items are a search bar and a list of the last samples that were used. On the left, the menu bar shows all your samples, again with the ability to filter by name. We will discuss how to organize them by groups in another, more advanced part of this documentation. As for machines, a small color bar next the sample name shows your role:
An orange bar indicates that you are manager of the sample
A blue bar indicates that you are user of the sample
A gray bar indicates that you are observer of the sample


3.2. Sample History
Clicking on one of your sample brings you to the sample operation history:

The first element is again the name of the sample. Below you can see a short description, and two tabs: Operation history and Settings (that is covered just below). The operation history shows, in anti-chronological order, all the operations performed on the sample. Like in the machine history, clicking on a process step expands the details:

with all the relevant parameters from the process step on the left column, and the sample details on the right one. Remember that you cannot edit a process step from the Samples page, you have to go to the Machines page to do so.
3.3. Sample Settings
Clicking on the Settings tab opens the settings page for the sample. It is divided in three blocks, one on the left and two on the right.
3.3.1. Sample description
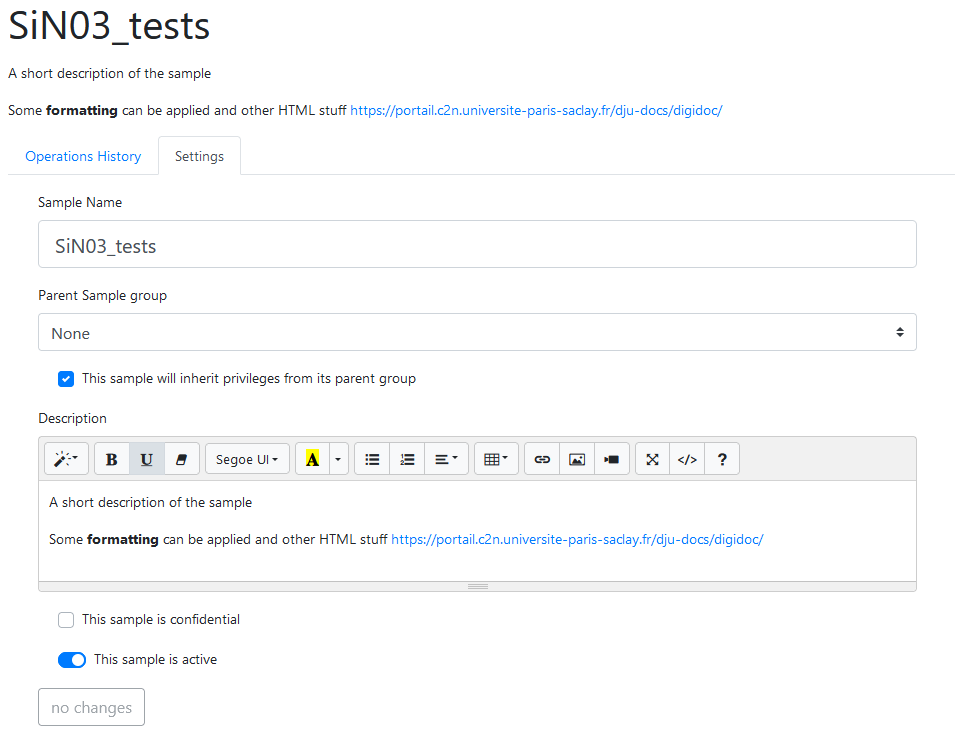
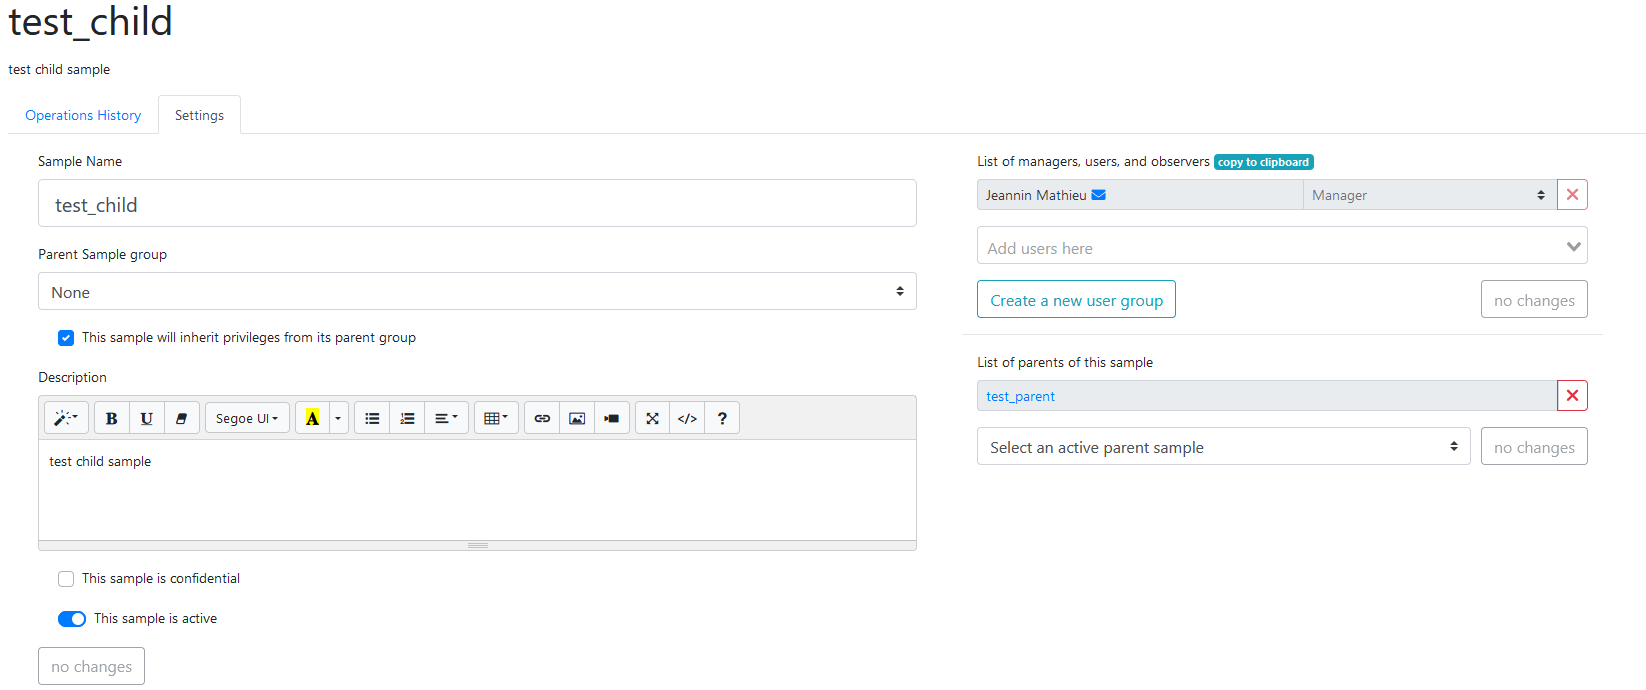
Let us look at the left part of the page first. This allows you to change the sample name, and add a brief description. The embedded html editor helper allows you to add some formatting (font styles, hyperlinks etc.). Let us put aside the fields regarding “Parent sample” for now.
You can further see a tickbox “This sample is confidential”:

which allows to hide the sample name to other people (e.g. in the machine history, for example), as well as a switch “This sample is active”:

This switch allows you to “archive” samples that are not used anymore. Like process steps, and every other thing, samples cannot be deleted from Digiclear. This ensures that data is not lost over the years. However, to hide them from your everyday interface, you can make them “inactive”. If so, they are hidden from the left menu bar, unless the inactives button  is triggered.
When changing the settings, e.g. sample name or description, you can see that the bottom button change from no change  to save changes
  . Do not forget to click on it before leaving the page. Upon validation, the save fields will turn green:

3.3.2. Sample user list
On the top of the right side, you will find the list of people working with this sample.
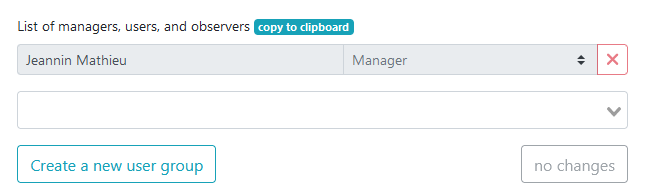
So far, it is just me, and since I created the sample, I am de facto Manager. Clicking on the drop-down menu below opens a list:
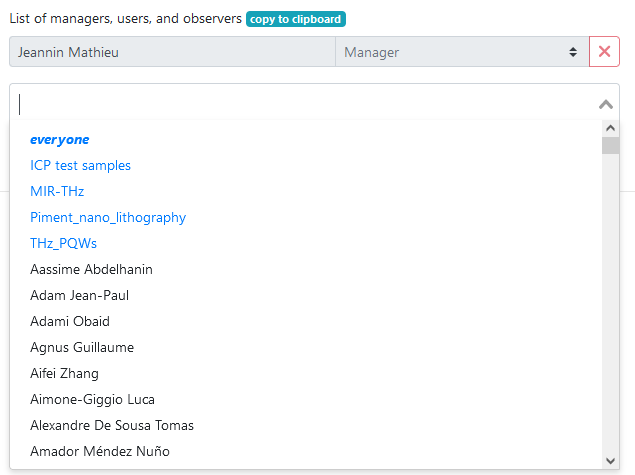
On top of the list, in blue, you will find the user groups that we will discuss in another tutorial. Below, you will find the list of all registered cleanroom users. You can start to type-in the name of one of your colleagues, and add them to the list. By default, they will be added as users, but you can now change their role:
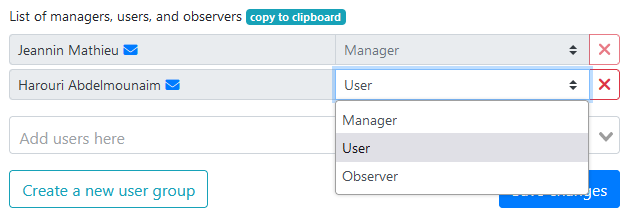
or remove them from the list using the delete button  . Again, do not forget to save the changes.
3.3.3. Sample inheritance
Finally, the last menu of the Settings tab on the bottom right is the list of Parent Samples:

Parent samples introduce the concept of inheritance. Let us assume that you started to process a large wafer (call it test_parent), e.g. with a metal deposition and an annealing step.

Later on, you cleave it in four to test different processes. The first piece is called test_child and you will add another material on it. When creating this sample, you can declare test_parent as a parent sample:
The sample history of test_child will already contain all the process steps performed on wafer (they “inherit” these process steps from their “parent”). Adding the final deposition:
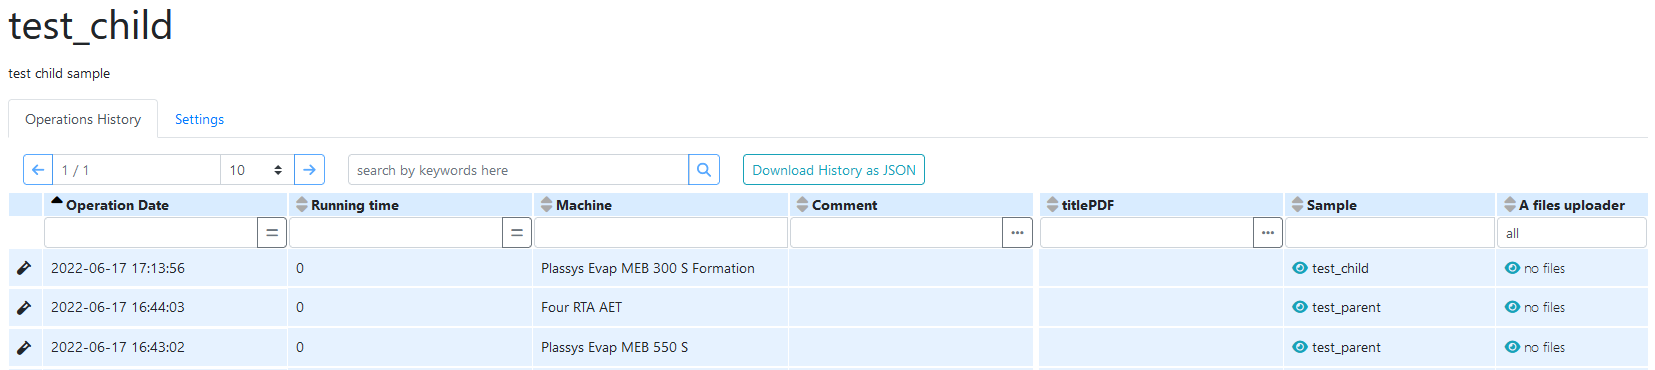
where you can see from the Sample column that the first two processes were logged on the parent sample.
Of course, the inheritance is recursive, so you can then cut the child sample into other child samples. You can also indicate two (or more) parent samples [1] for example in the case where the sample is made by bonding two parent samples together.
Warning
Be careful to save the changes with the corresponding buttons on the three parts of the settings tab. The leftmost sample settings, the upper list of users, managers and observers, and the list of parent samples have different save changes buttons.